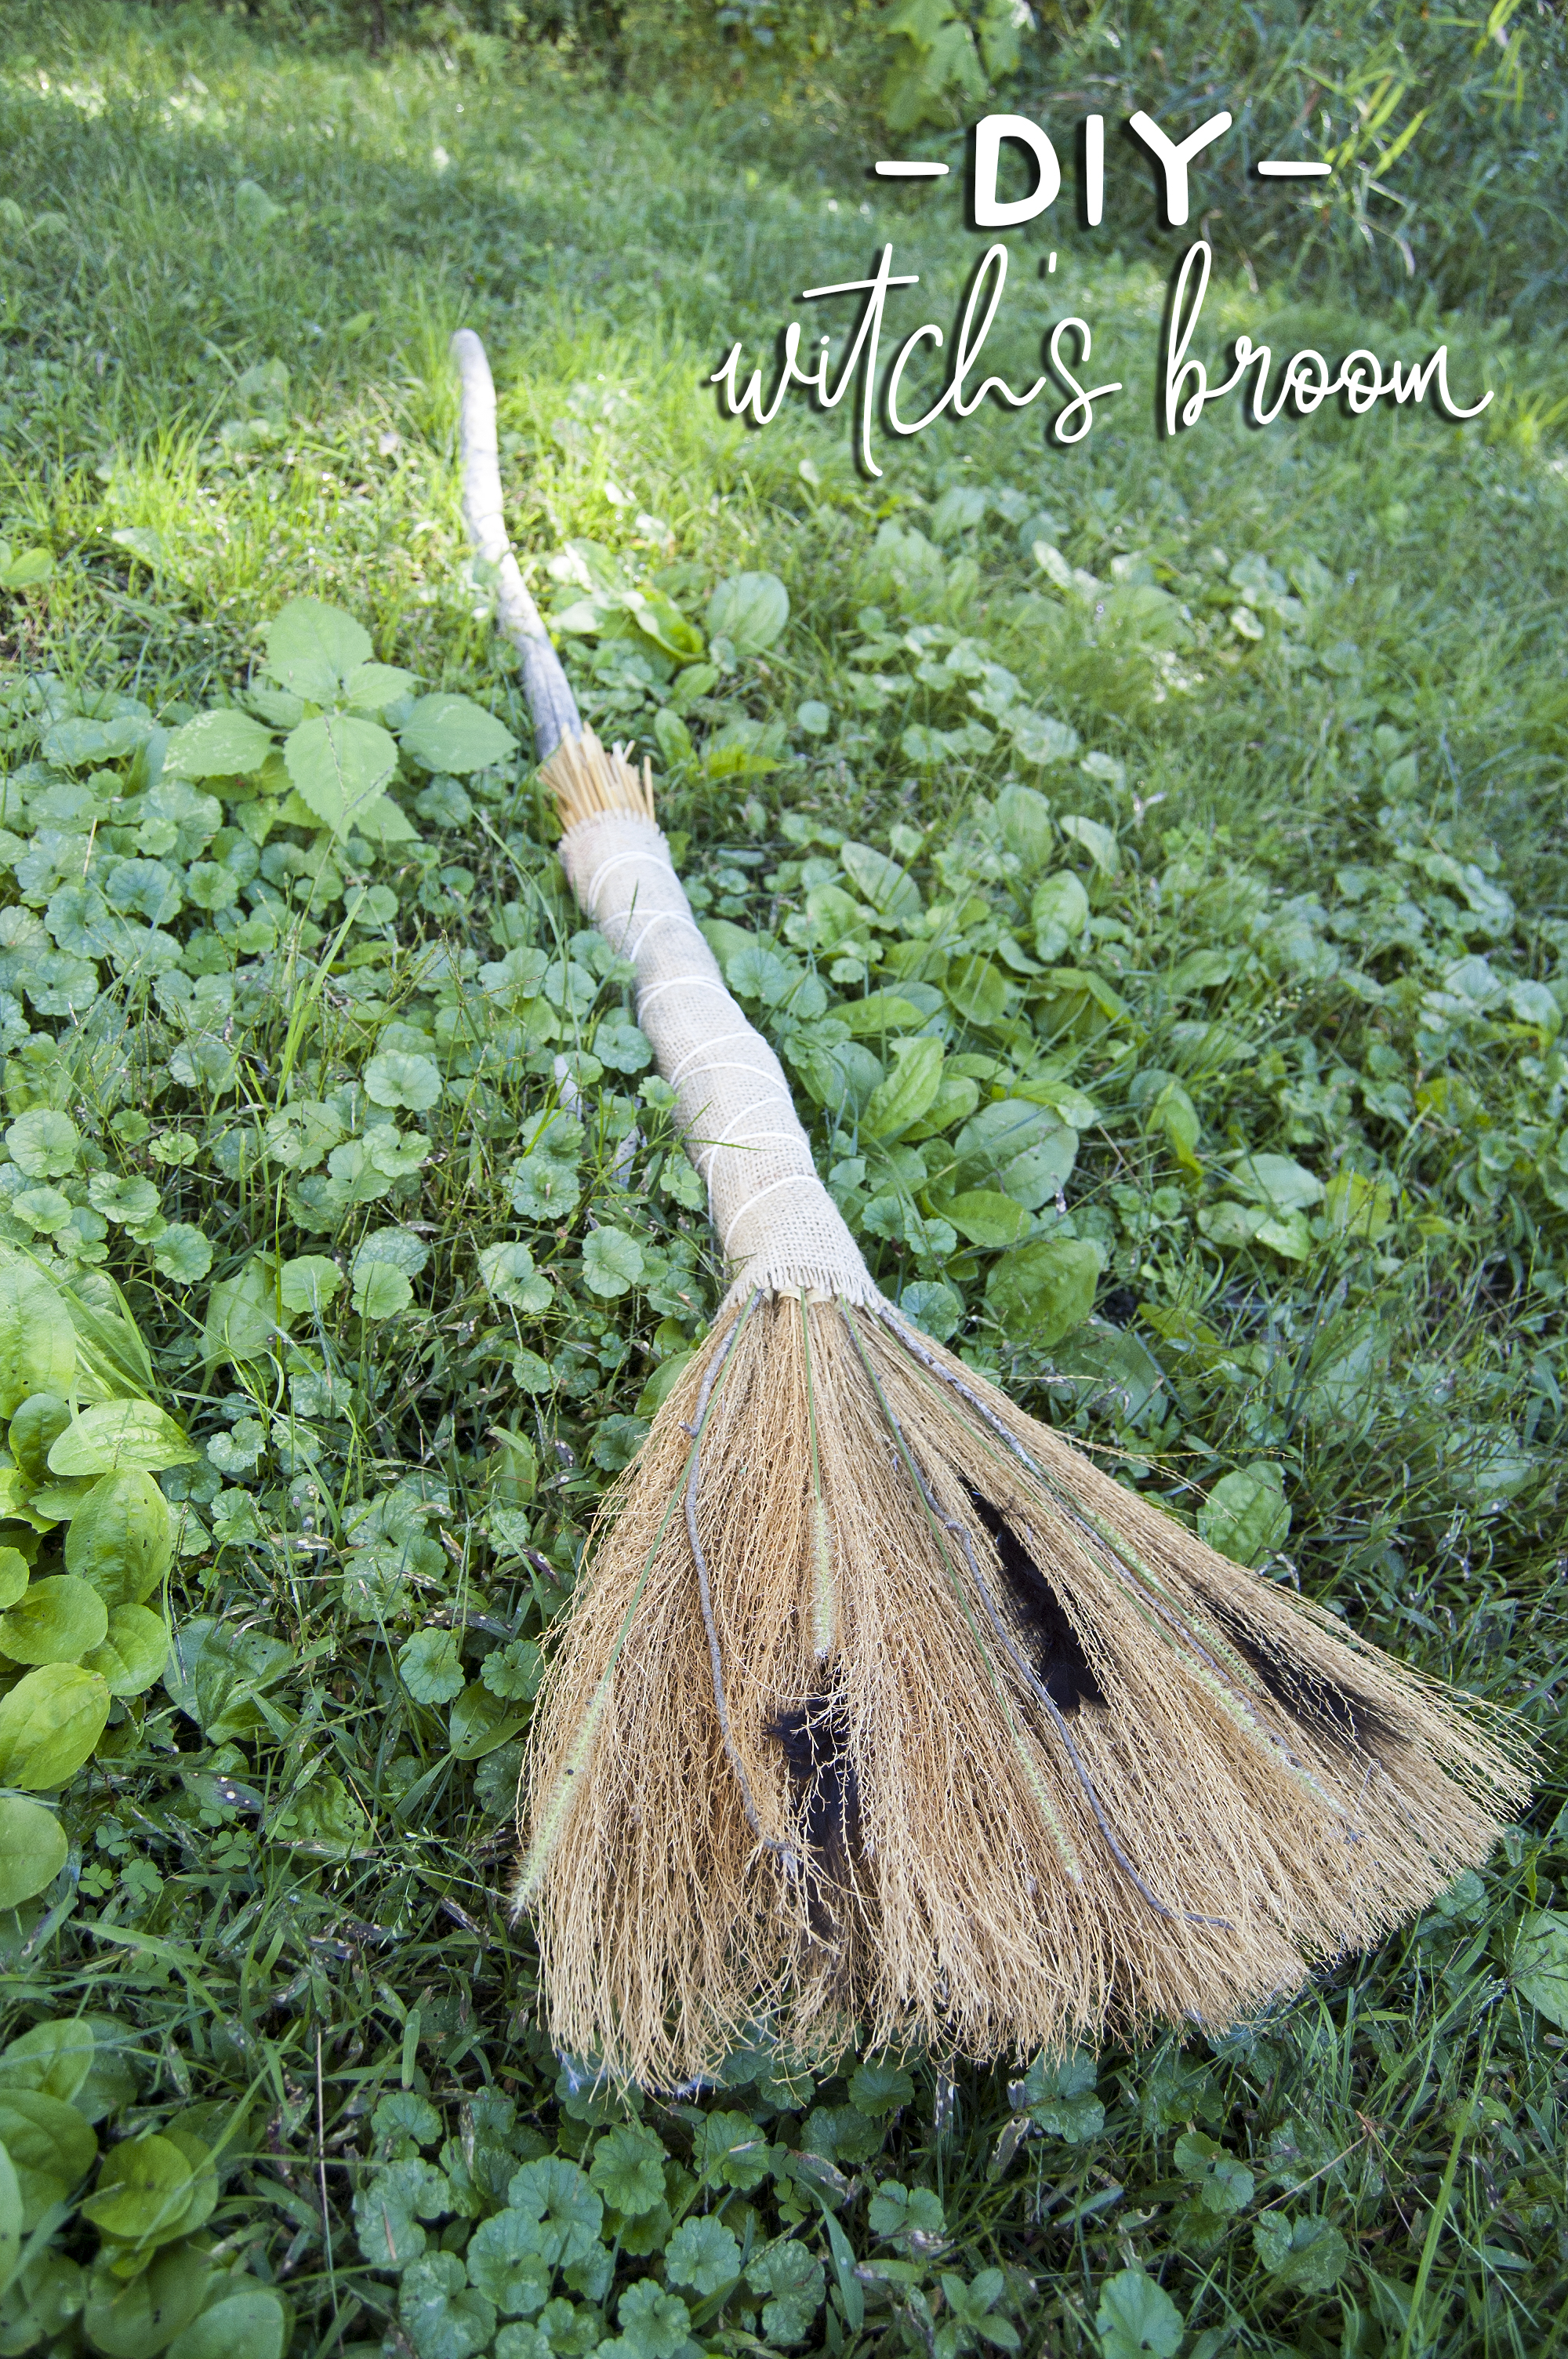
2018 marks the 25th anniversary of one of the most iconic seasonal movies of all time: Hocus Pocus! Make your very own Sanderson sisters inspired broom with this DIY guide!

Materials
Thrifted broom (any size, shape, and style should do!)
Foraged twigs, grass, etc.
Feathers
Burlap
Stem wire
Twine
Hot glue and glue gun
Scissors

Step 1: Remove any non-magical bits on your thrifted broom base. An elimination spell should work here, but so would some good old fashioned scissors. Remove any pieces from your broom to start with a simple base. Don’t worry if it looks bare at this point-you’ll be adding decorations later!

Step 2: Get the right broom handle. If your broom already has a long handle, you could certainly leave it as is. Any old stick would work, though. Look for something gnarled or knobby for a wicked, witchy feel. To attach it, carefully nestle it down inside the bristles of the broom (if that’s possible to do without damaging the straw) then wrap it several times with stem wire. If your bristles are too brittle to handle this step, set the broom head on top of the stick and then wrap it tightly. Step four will further secure the two pieces.
If you are using a regular broom and want to add a little extra personality to the handle, you could try sanding off any finish or adding big globs of hot glue to look like knots in the wood, then spray painting the whole handle so it looks uniform.
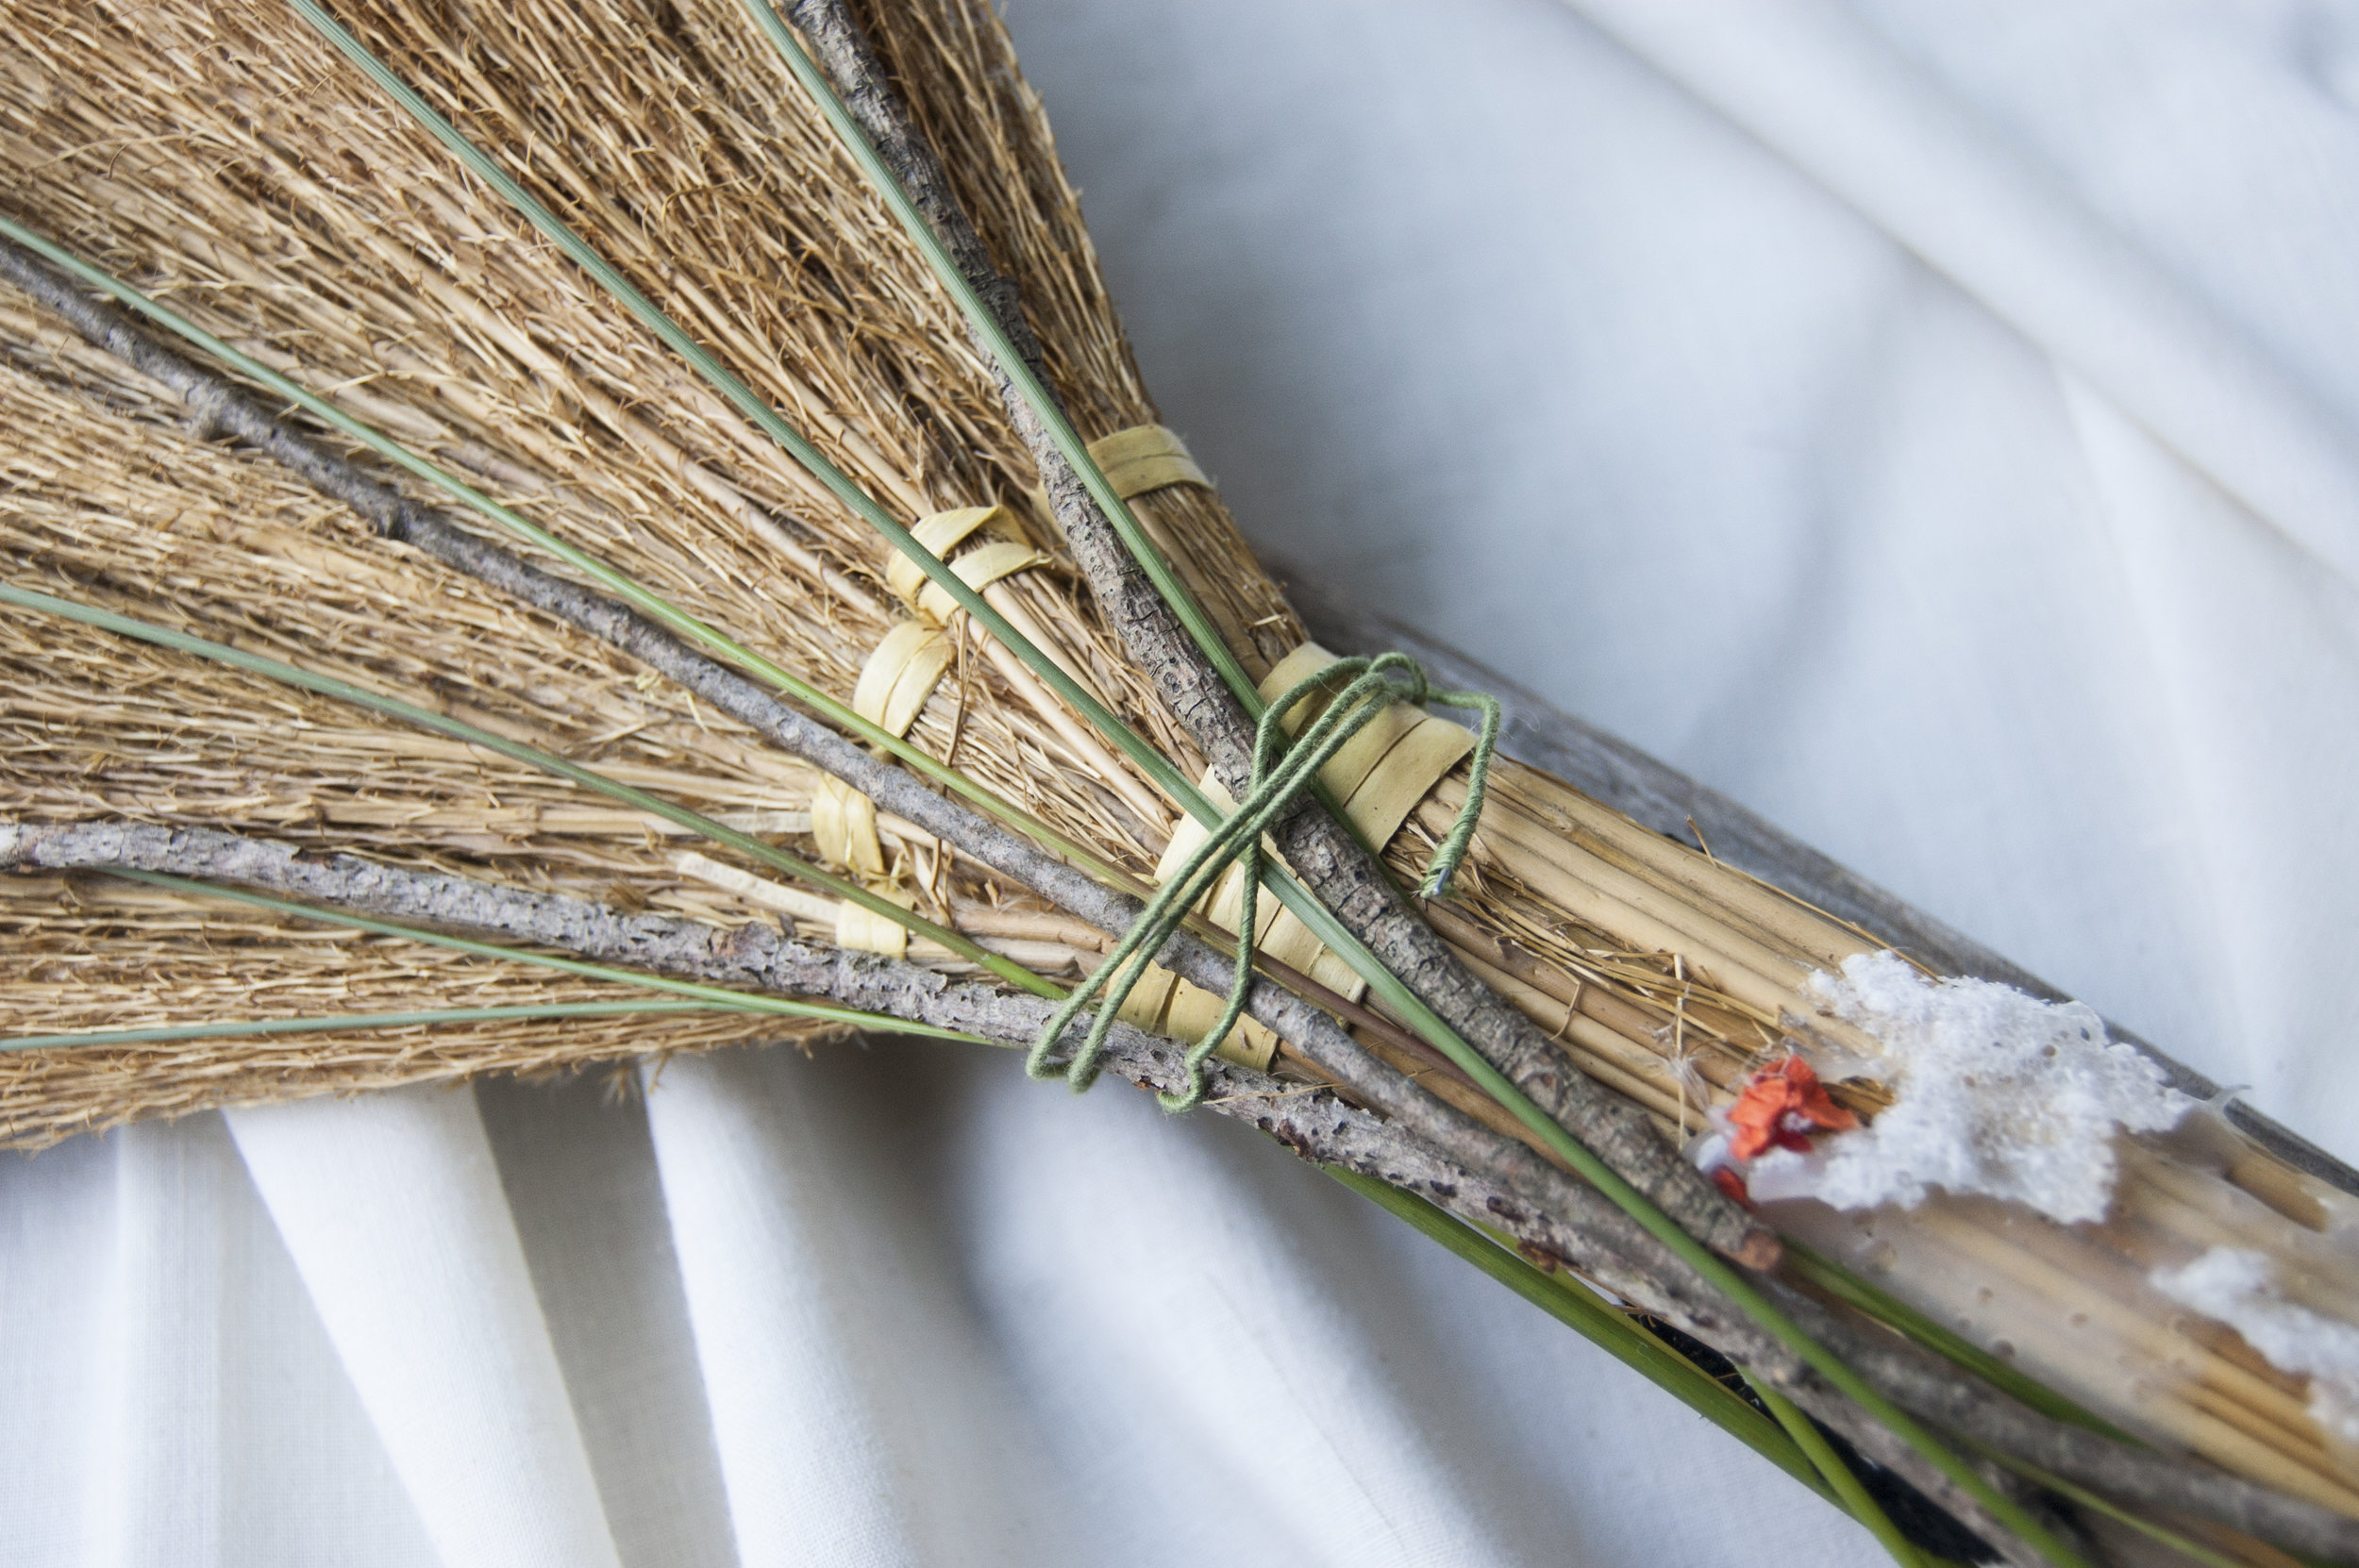
Step 3: Add a little whimsy! Carefully tuck foraged twigs, hay, and feathers into the broom head and dab on a little hot glue in a well-hidden place to help them stay. For the longer pieces, you can tuck them up under the first stem wire that attaches the broom stick. You could even add a little glitter here, too, if that’s your style!

Step 4: Cover up the seams. Wrap all uneven parts (the leftover Styrofoam, the stem wire, and the ends of the twigs) tightly with a piece of burlap hot gluing it all the way up its seam. Once that is in place, add twine. This is done as an extra way to hold everything together, but it also visually breaks up the look of the burlap. A satin or velvet ribbon would look lovely, too, if “classy witch” is more what you’re going for.

Step 5: Give it a little wear and tear. Trim the bristles to make them uneven to give them a rustic feel!

And there you have it! Bring your broom outside and give it a test drive around the neighborhood to get yourself ready for Halloween!

When you shop at Goodwill, you’re not only picking up amazing items, you’re helping others. Your purchase allows Goodwill to help people who are facing challenges to finding employment, overcome their hardships, and achieve independence through the power of work.

Goodwill is your one stop Halloween shop! Stop by for great deals and spooktackular decorations!